Keep Your Equipment Protected
AquaTray® Leak Barrier Ceilings captures and carries away overhead leaks, protects your assets, and ensures your uptime.
How It's Integrated Into Your Facility
In 4 easy steps, your valuable equipment is protected.
How It Works
If an overhead roof leak or broken pipe occurs, water is channeled from tray- to-tray, then to a sink or building drain. A ceiling water leak detection alarm will be sounded. The AquaTray ® system is ready 24/7/24 unattended overhead leak protection. That’s PROTECTION not just detection
– NOTE: Develop a project plan or shop drawing to arrange the trays in the proper pattern to protect equipment, critical area or to place trays under potential leak sources. Also show how trays are connected together with drainage tubing and where the final drain is located. AquaTray can provide a suggested layout.
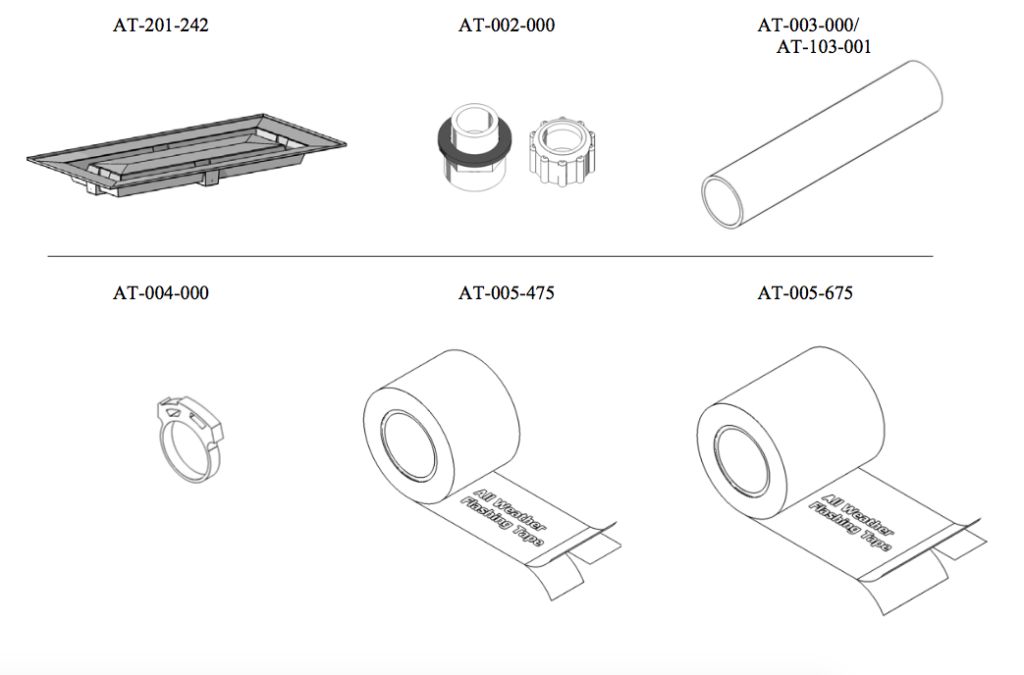
– A – Drill Bulkhead Holes and Install fittings.
– B – Cut and Install Support Brackets at the (4) Corners of Each Tray.
– A – Adjust Ceiling Elements (Lights, Diffusers, Sprinklers Etc.) to Accept the Trays.
– B – Arrange Existing or New Hangar Wires to Support New Trays and New or Existing Grid, if using a 15/16 standard T-Grid. If using a heavy duty data center grid then wire hangers are not needed.
– A – Set AquaTray Panels in the Grid.
– B – Install Flashing Tape across the T-Grid from Tray to Tray.
– C – Install Wire Hangers through Tray Support Brackets ( if using a Standard T-Grid Only).
– D – Install Drainage Tubing from Tray to Tray and Drain Pipe at the End.